This is my first real attempt at coloring digitally. I’m using Sketchbook Pro to draw and to color. Getting used to this program has been a real pleasure. I’m learning a lot about using layers to my advantage in order to build up colors, as I would be with painting using physical paints. Merging layers and making layers transparent really helped me get a feel for color integration. I hope to do many more of these works — with succulents in particular, as they are so full of color and interesting line shapes. They are also just plain adorable and I think they’re fascinating.
Here’s my process as I went along, starting with the original picture I took with the beginning lines.
I hope you enjoy seeing the pictures of the process. I know it’s been educational for me to see the progress, and very encouraging.
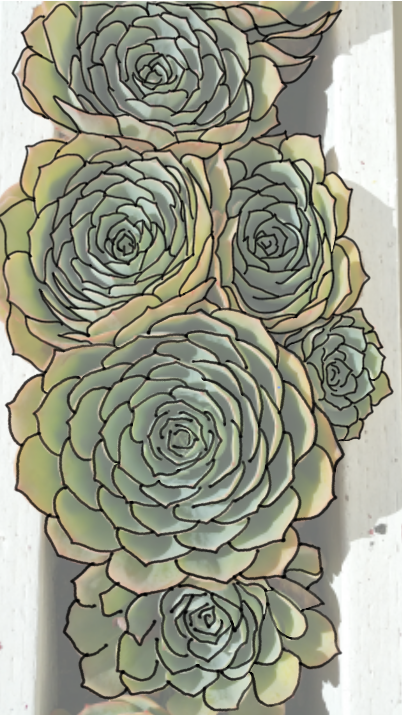
The original reference image with digital drawn-in-lines visible.
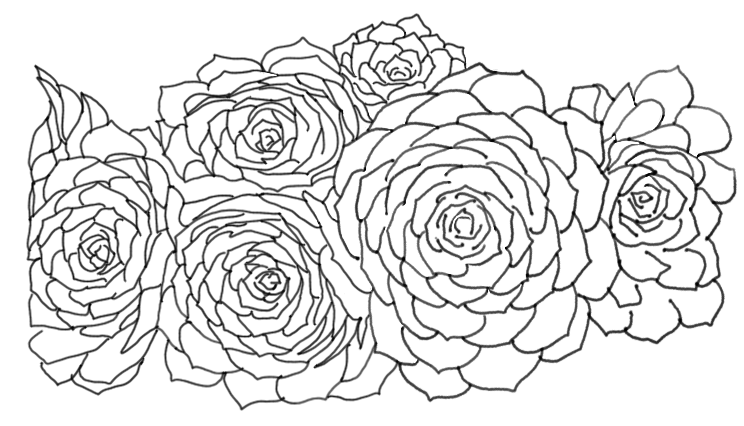
Cleaned digital lines, minus the reference image. I used black because it was easy to see over the reference image, but also because I wanted this image to have a simple line art style. Now it’s time to starting coloring digitally! Yay!
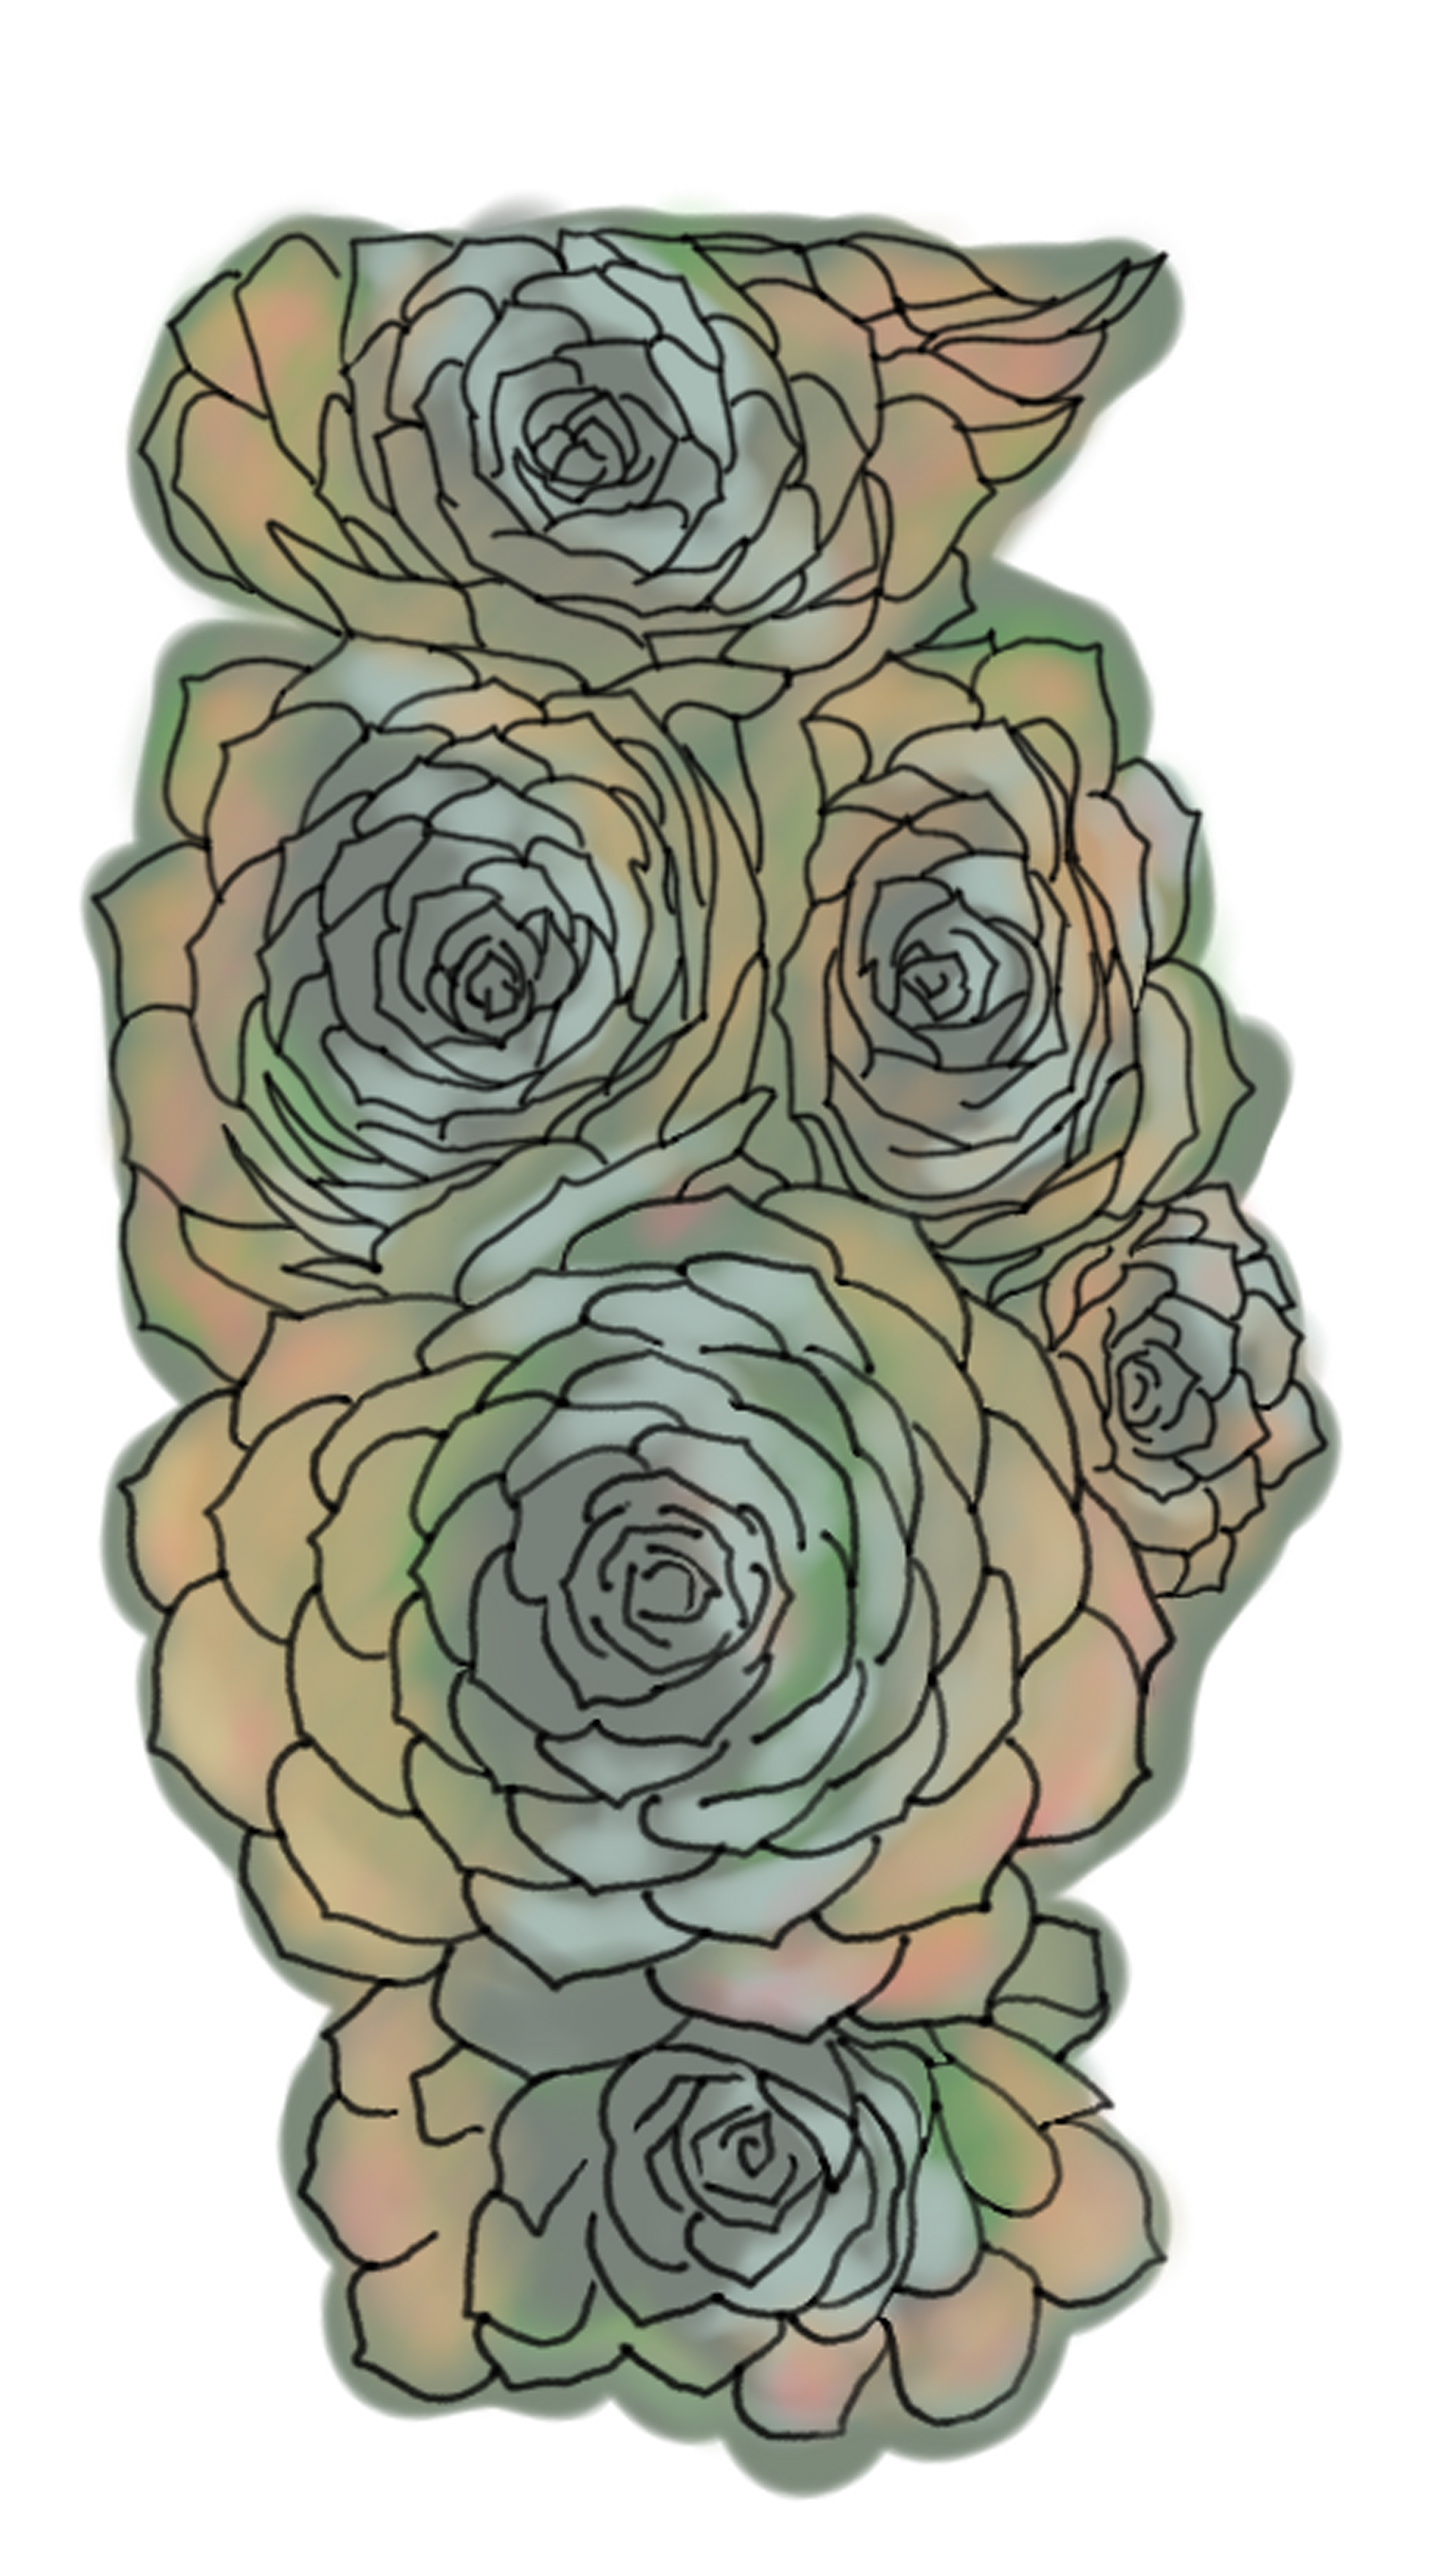
Using a large paint brush, I’m painting in the base colors, starting with the darkest colors, and adding fringe highlights.
Adding in some more major colors, mostly greens, grays, and some yellow.
Continuing with the coloring, and toning down some of the accent colors. Coloring is very back-and-forth work. I bet I spent 80% of my time removing color and then reincluding it over and over again. I wanted to keep the darkest greens in particular. I’m not very good at this yet, but I will get better with more practice.
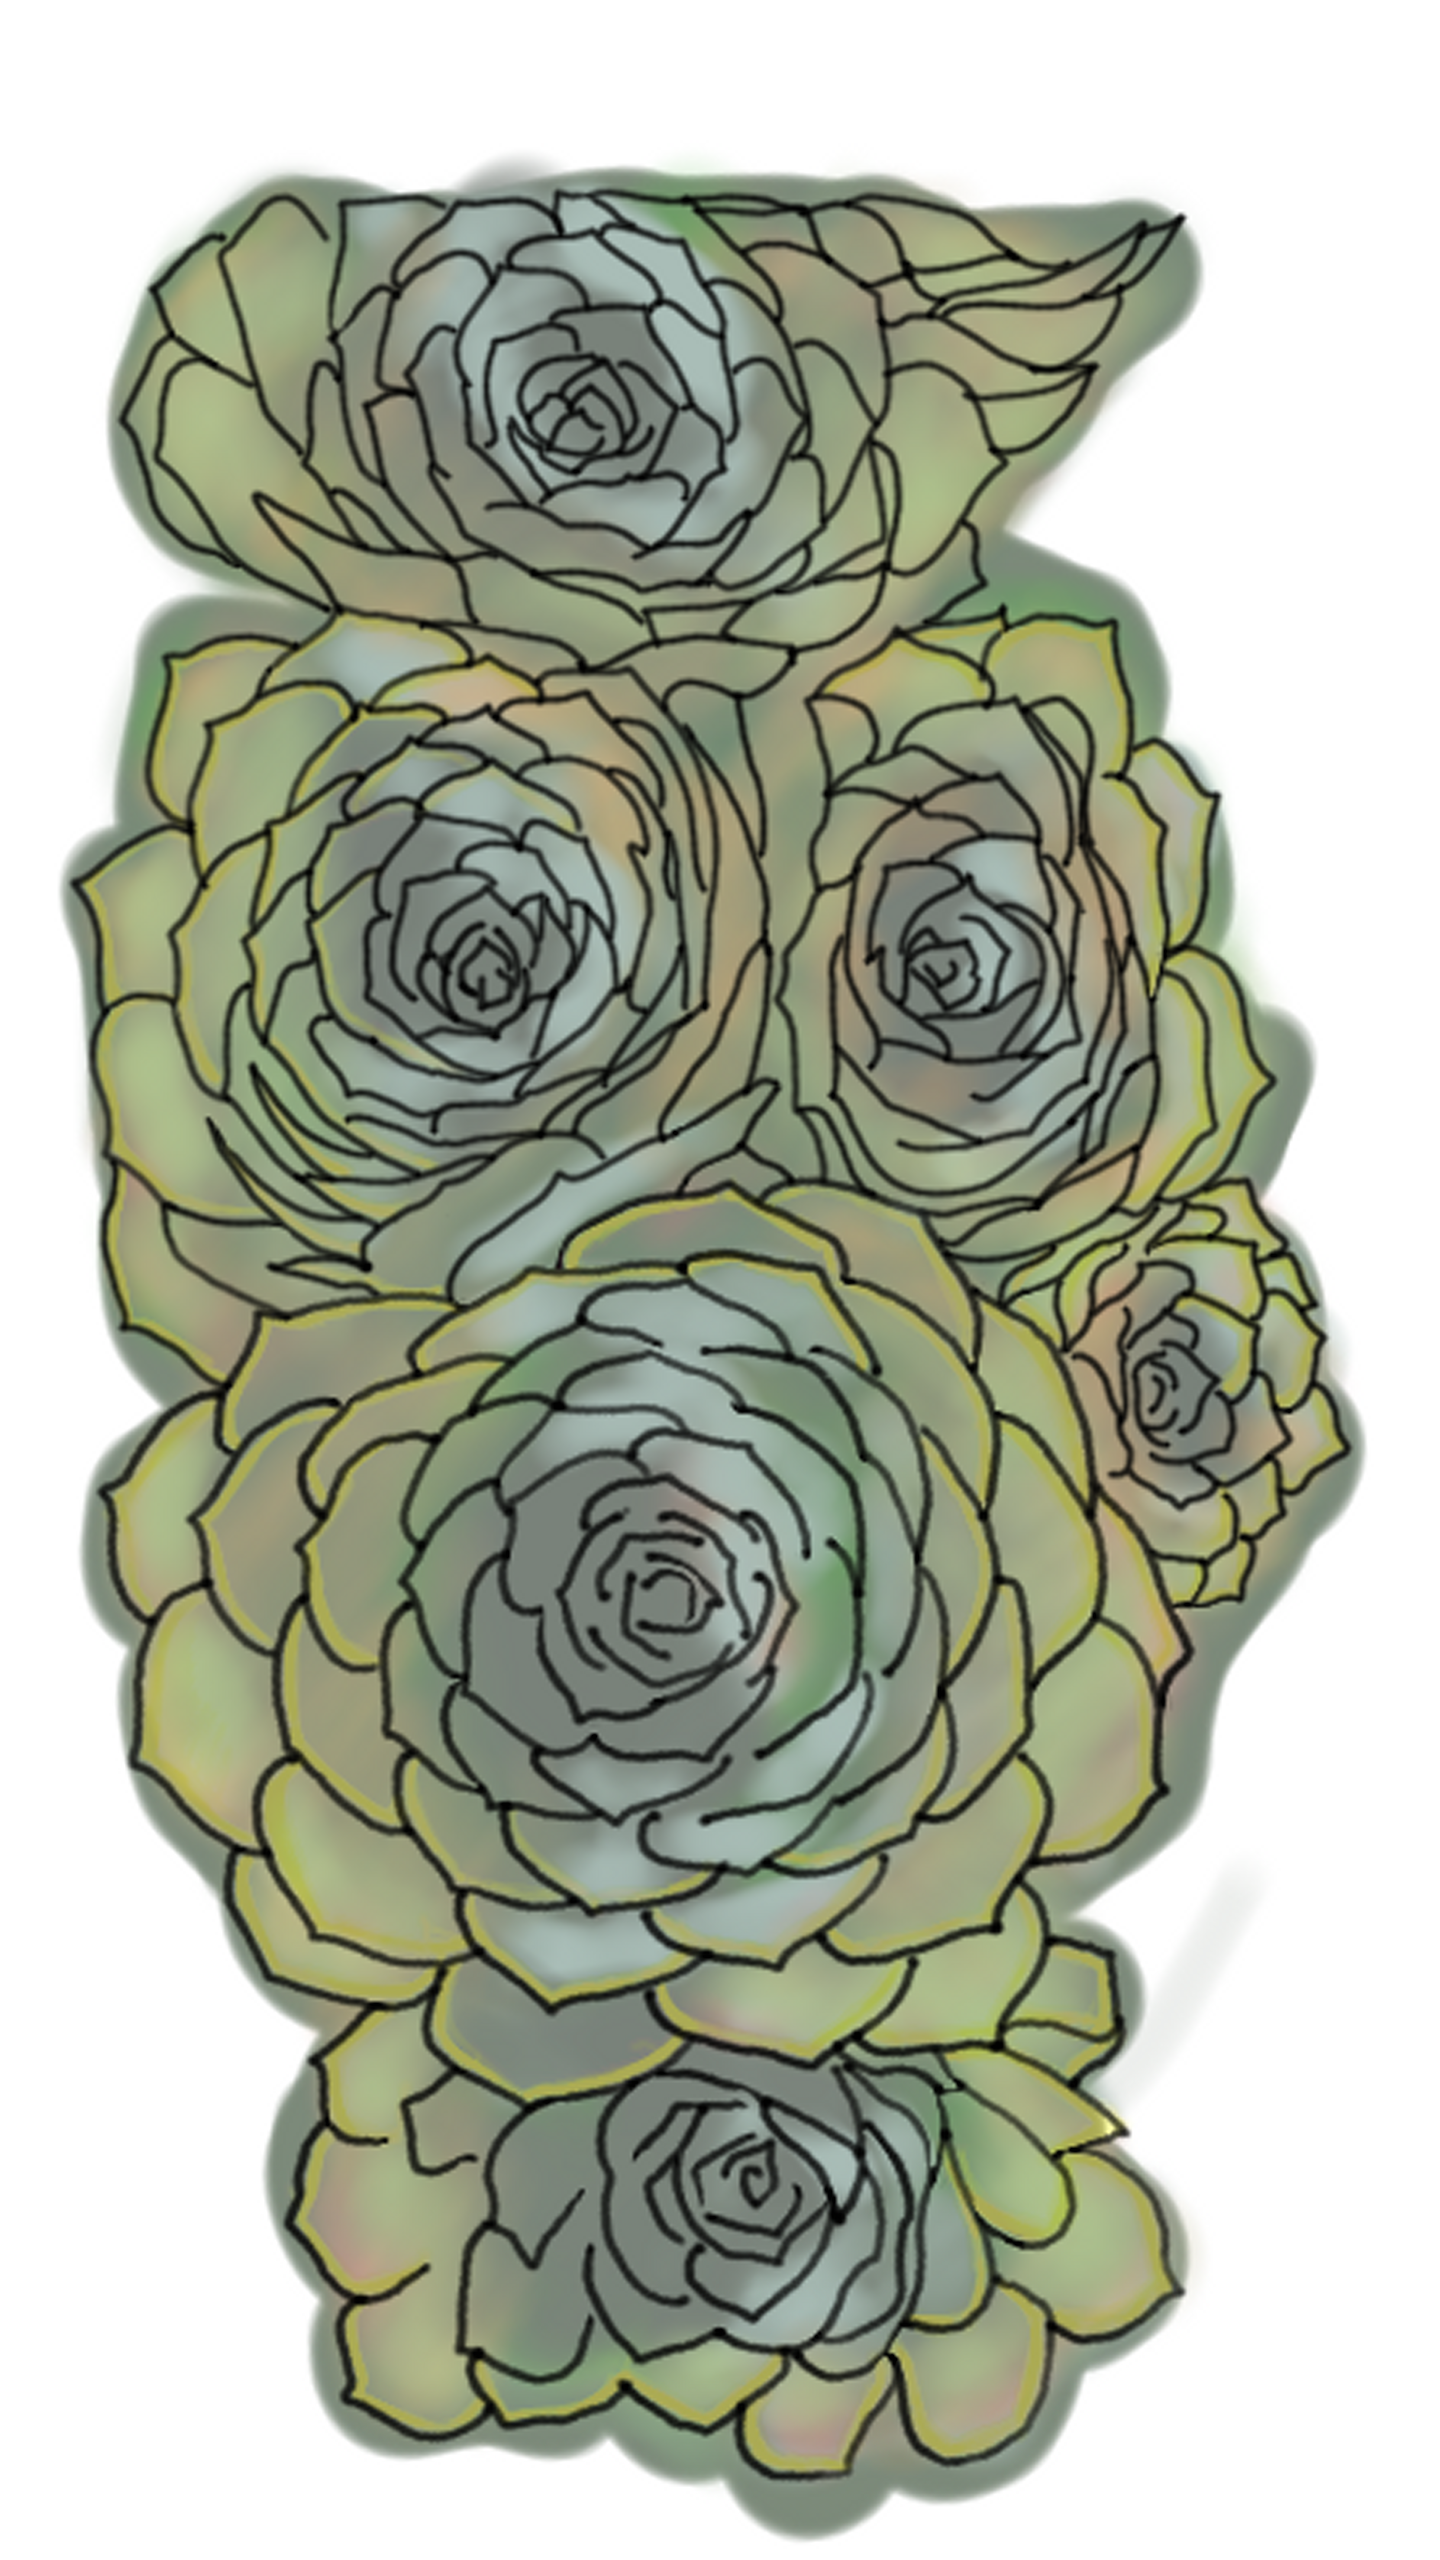
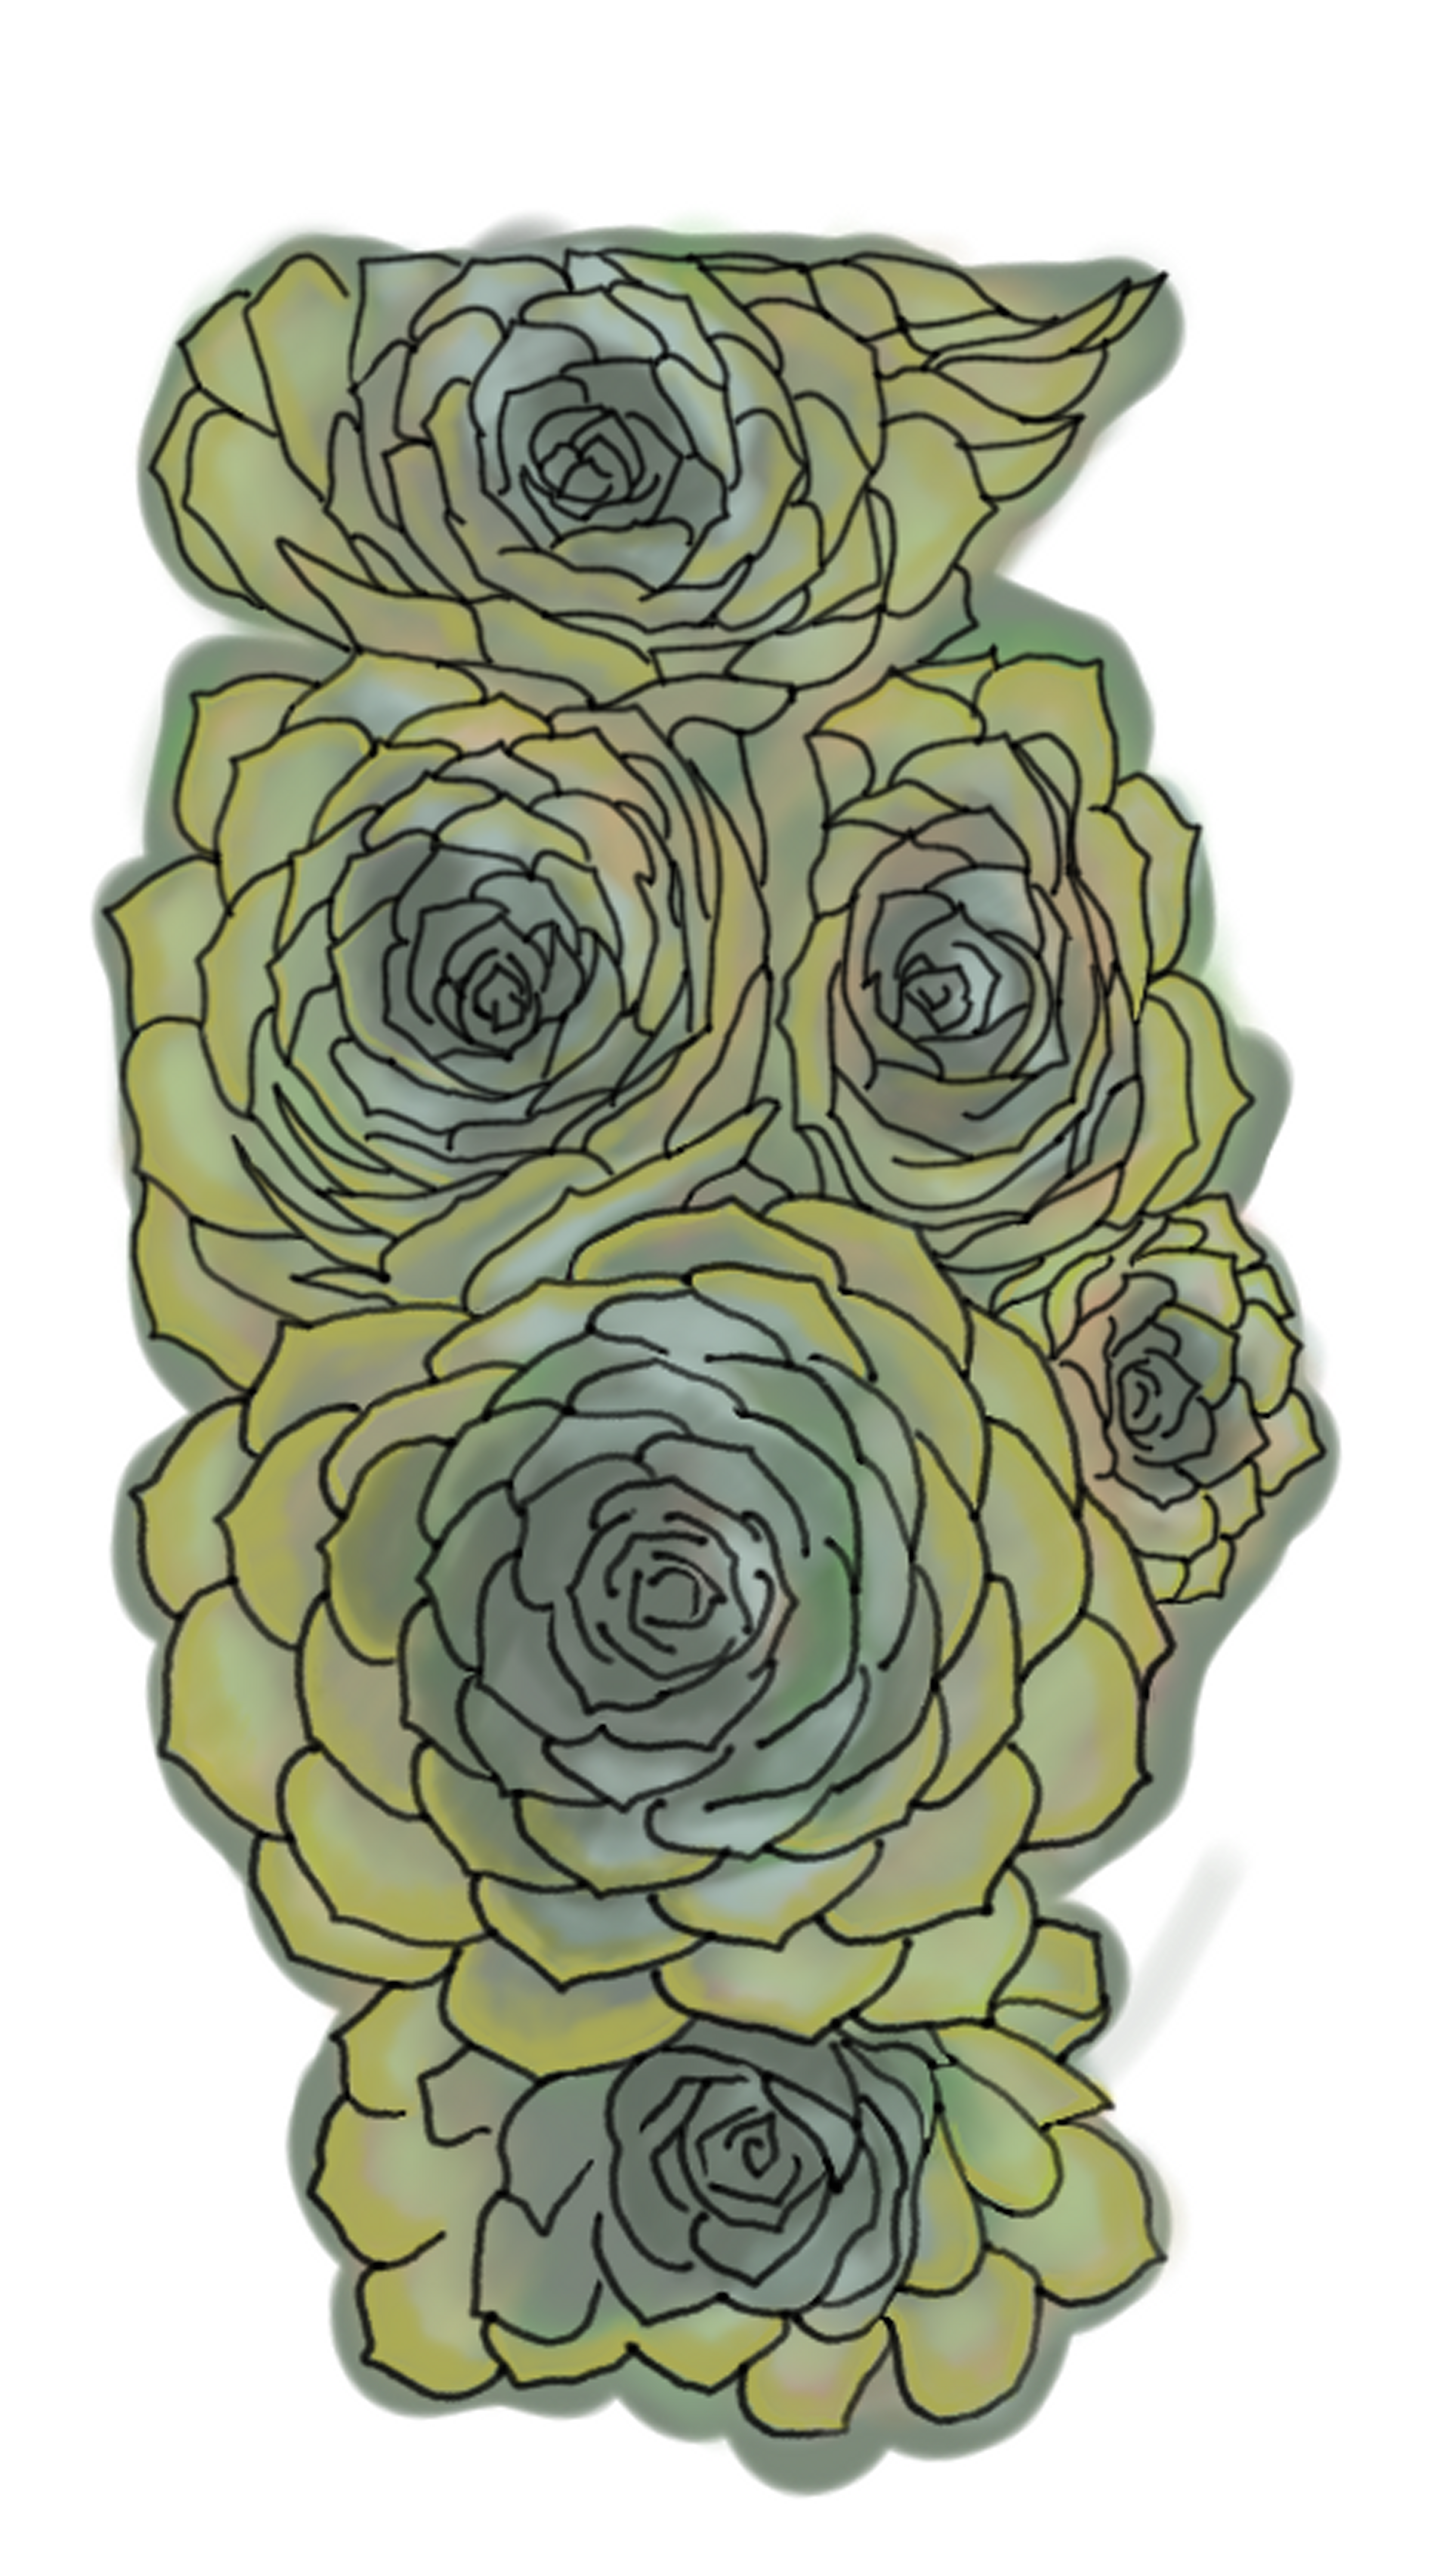
Finalizing the colors and getting closer to the finished work. This is about hour 6 into the process.
Brightening up the highlights and making those darks even darker — this is the finished coloring of this version.
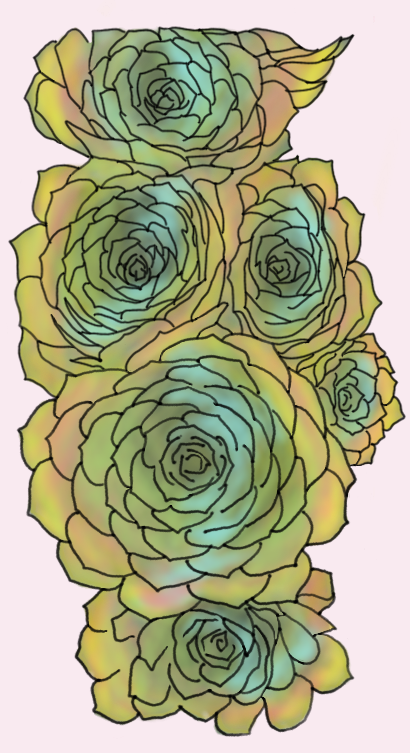
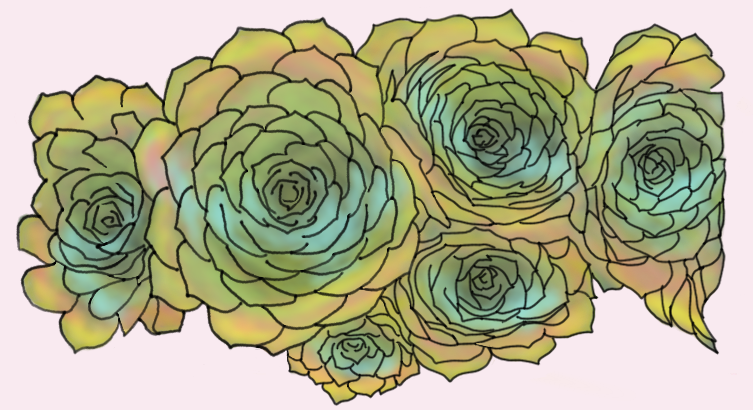
The finished work, horizontally placed, with a pink background for fun.