Figures and lines. I missed looking at pictures of lovely naked people. Seeing the form, the contours, all that gorgeous stuff. After I spotted a great reference photo online, I thought why not try it out for fun?
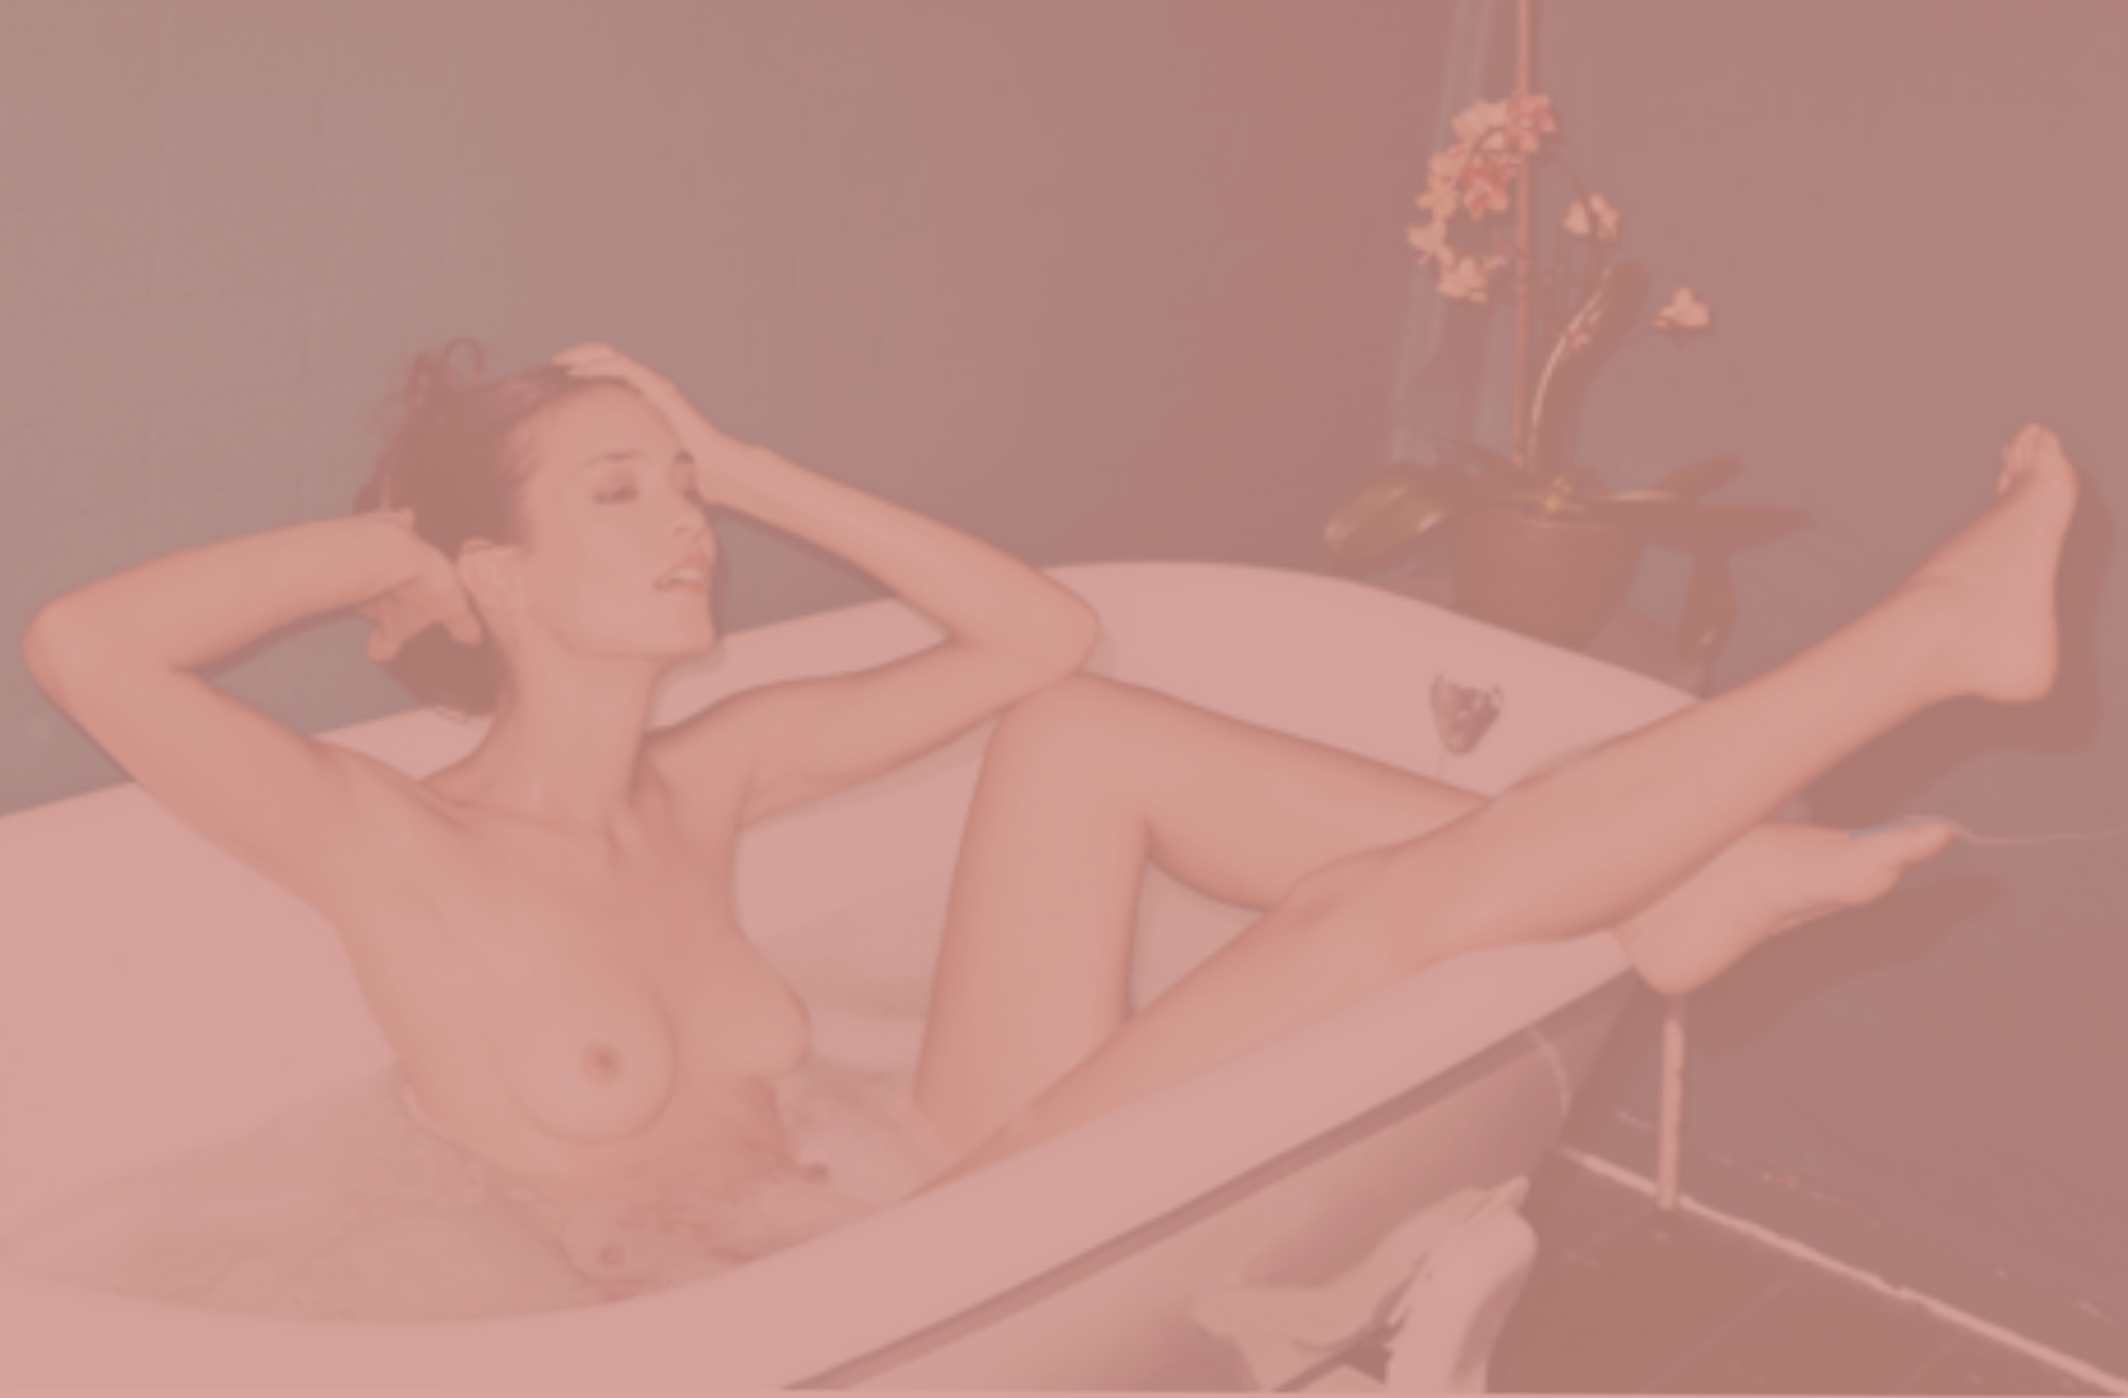
I found a picture of a woman in a bathtub. The intimacy of her, all alone, leaning into the water and stretching across the back of the tub was soothing. She is smiling and happy. There is relaxation and the feeling of the day fading away. This small moment of quiet made me feel so zen. So, I thought, wouldn’t this be great to work with? It’s relatively simple in composition, so I could focus on the few elements (and representative lines) in the picture.
Step One: The Reference Photo
I zoomed in and arranged the composition as I thought it looked best. The image became the background layer. I added Layer One and began to think about getting basic lines down.
Step Two: Basic Lines

The goal in this step is to keep the lines loose, but as faithful as possible to the original image in this beginning stage. I want to feel the lines, and get my brain familiar with the curves as I’m setting up my work in the following steps.
Step Three: Cleaning Up Phase One + Hand-Drawn Lines

This process requires zooming in and out of the image about a million times, and going over areas repeatedly. This is the beginning of artistic expression, as some of the lines get altered based on my preferences and what I wish to feature. I begin thinking in the back of my mind about line weight — how thick or thin I want lines, which represent different aspects of her features. I want to loose the original “seriousness” of the original image trace lines and start to open up, making this my own image, in my own conceived style.
This is as far as I’ve gotten with this project. Step Three will take many more iterations and line cleanings, which will become subsequent steps. I will update this as I work more. I will post the second part of this short sharing tutorial when complete!
Thanks for reading.
Love,
Penney