I know of a lot of traditional artists who use paper and pen exclusively. I think that’s great. I really do. I find myself pulling out a notebook and a colorful pen or trusty graphite and getting down to business. There isn’t much that feels better, actually. The contact of utensil on paper, the movement, the instant gratification, the muscle and eye coordination, the connection. It’s amazing.
The only part of the art-creating process I tripped over, over and over again was making a great picture show up digitally. You mean, I have to stop everything I’m doing, set up perfect lighting conditions and take a picture of my picture? And all too often, the result would be a ghost of the original in-person glory. I thought: why not skip a step and learn how to make art digitally? After buying some cheap equipment, but a reliable tool, and finding some sketch software that is intuitive and compatible with other standard color and drawing software (such as Photoshop and Illustrator, etc.) and works in a mobile app, the feasibility of making art digitally got within the realm of worthwhile.
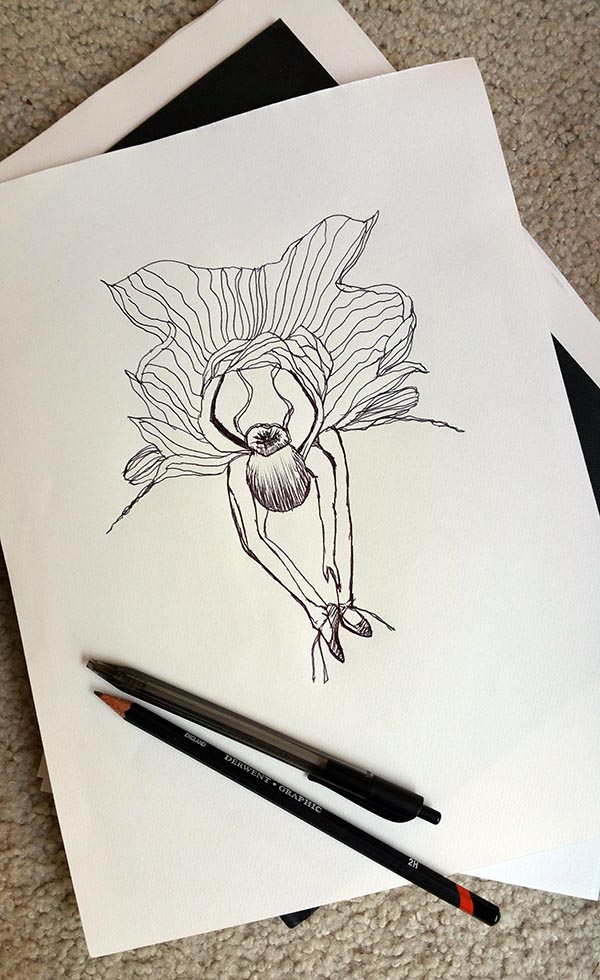
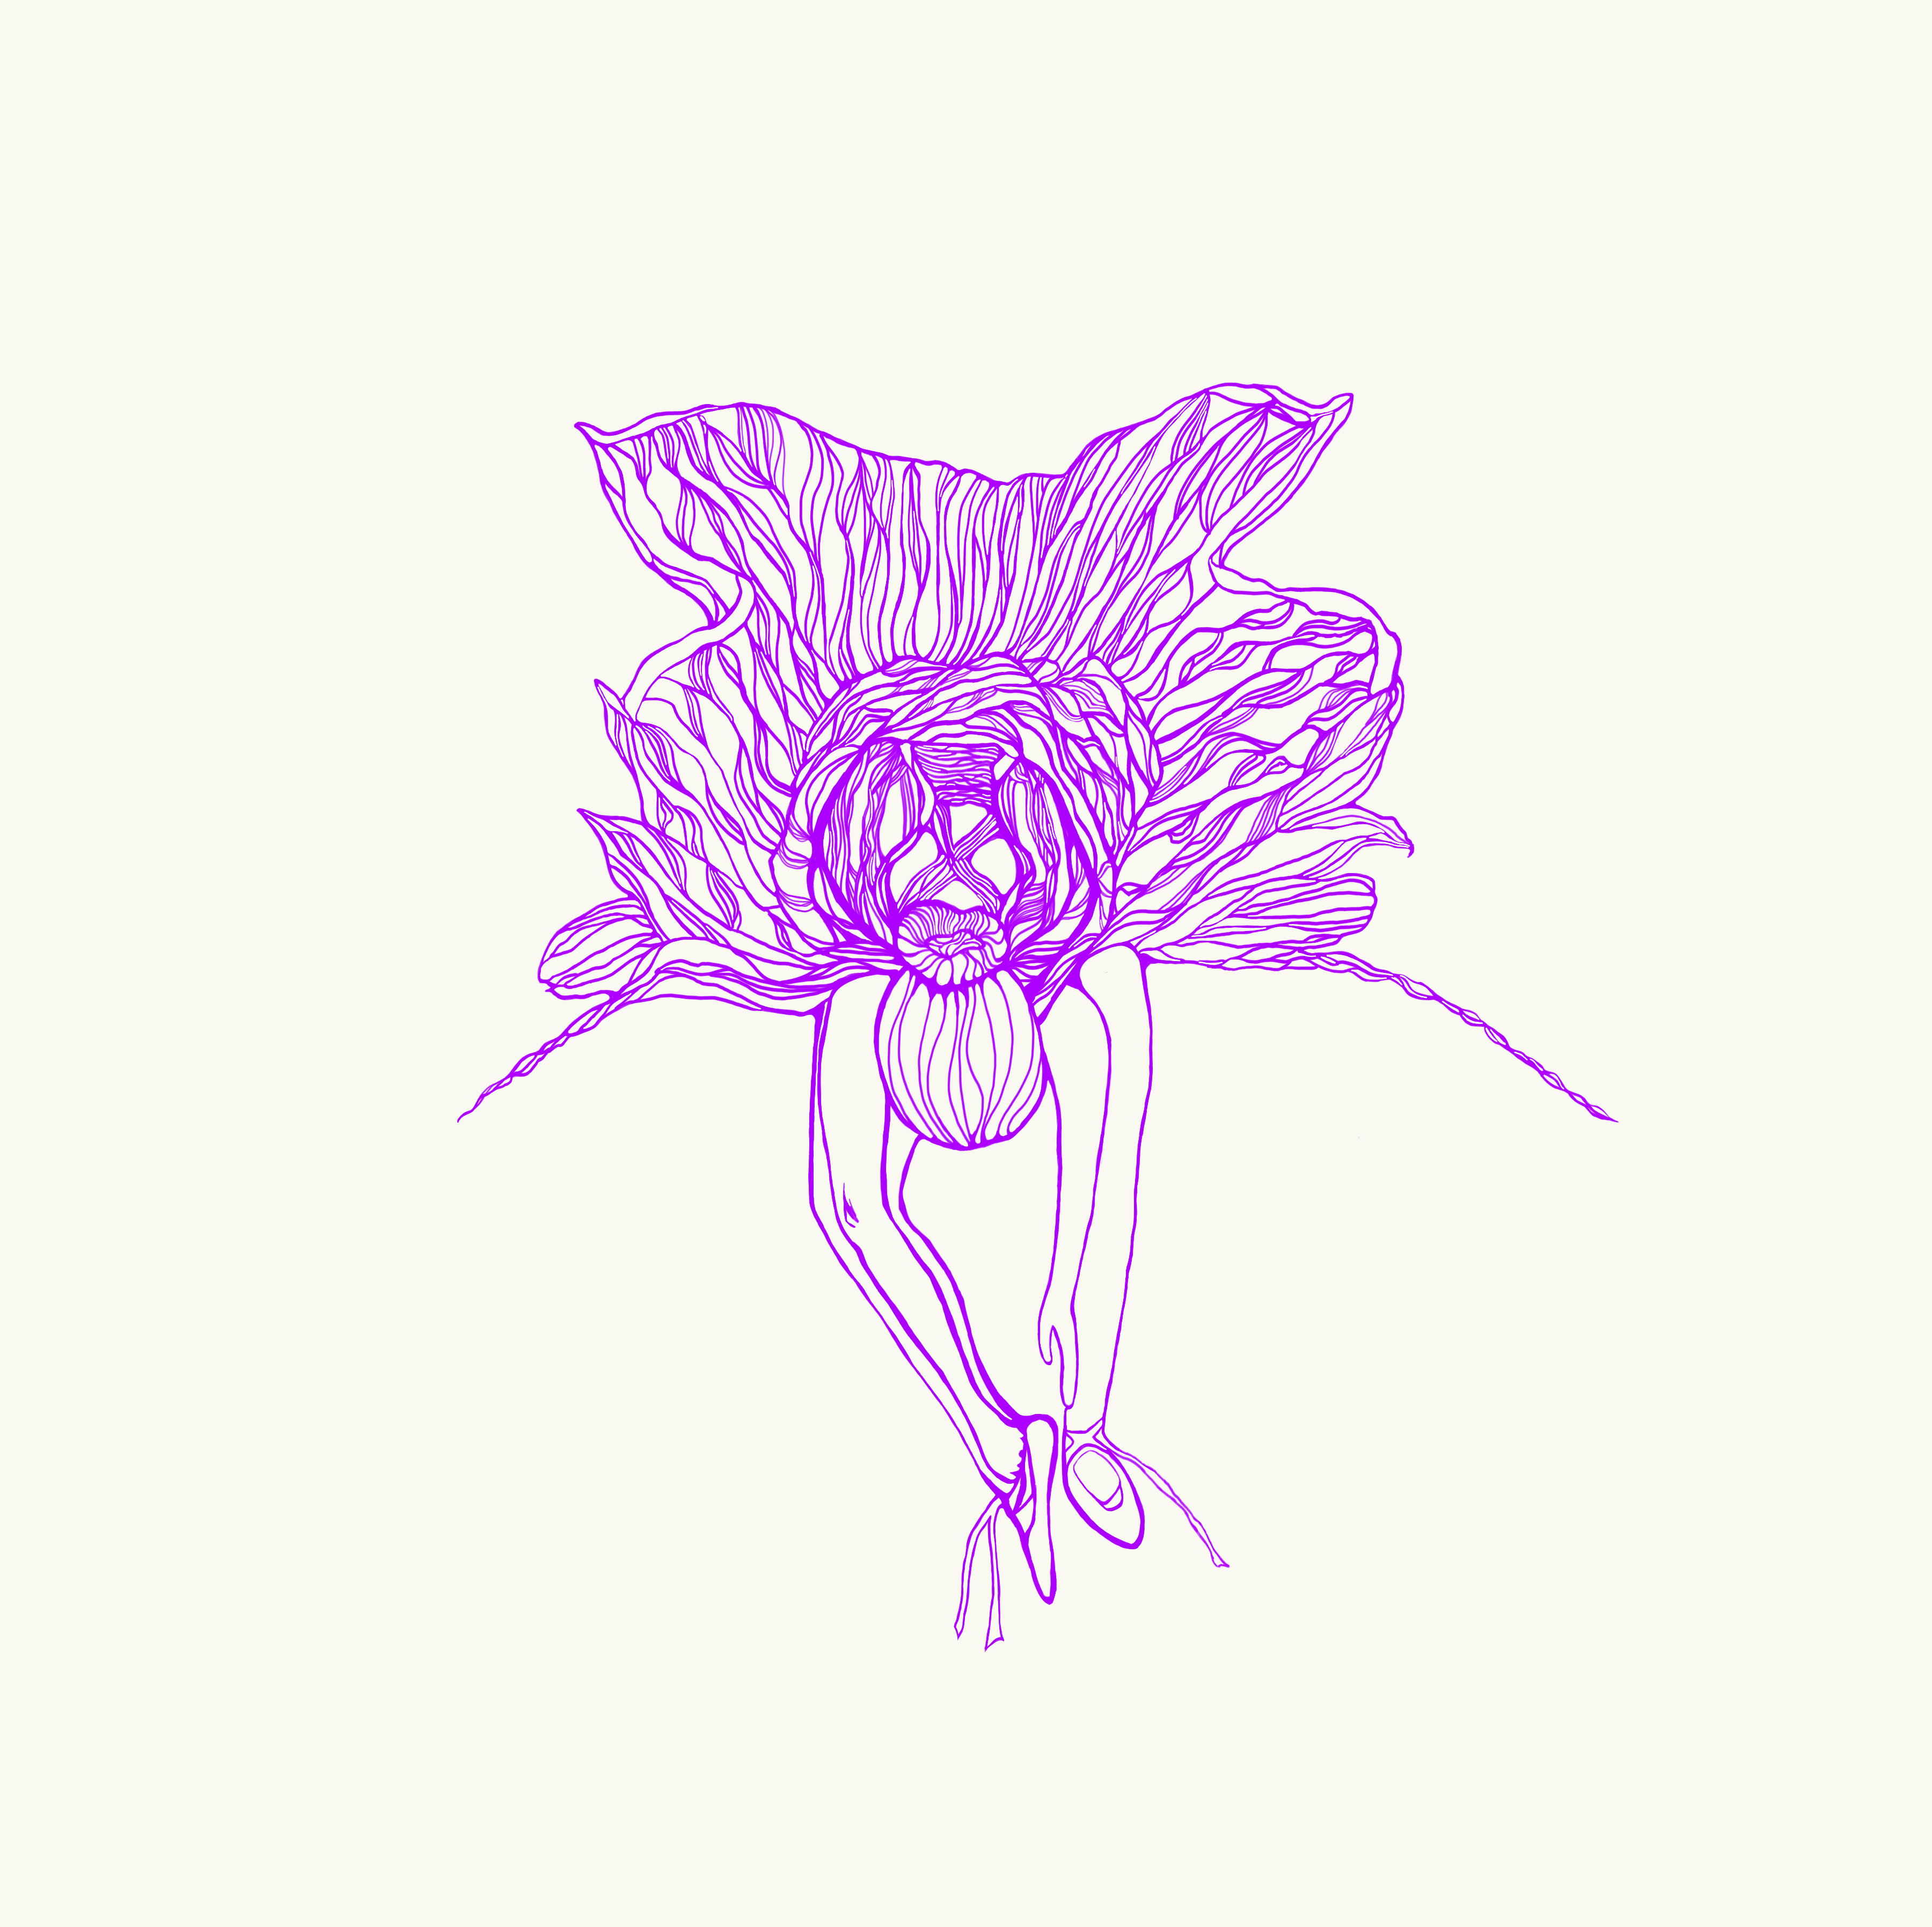
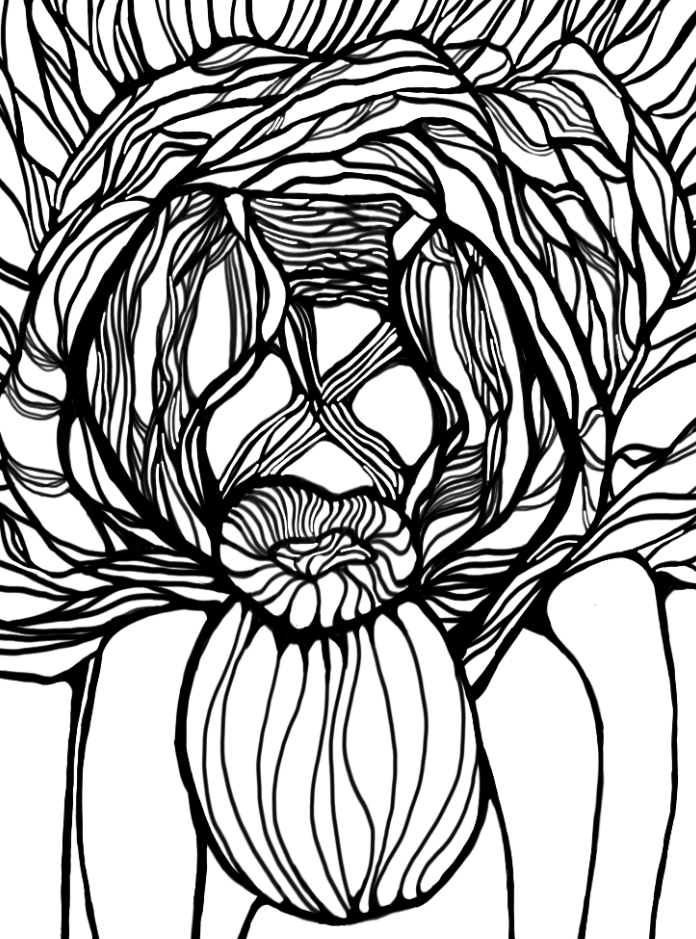
After months of practice, playing, and manipulating, I completed a digital work! This is the digital final of an original traditionally-drawn picture Flowerina. She started out as a simple line drawing with a ballpoint pen. As time went on, and I got a new cheap (but technically sound) computer that has pressure-sensitive capabilities (Fujitsu Lifebook). I decided to make Flowerina a digital artwork. The process took me a great deal of time: from her humble beginnings, to rough new beginnings, to smoothing out, to refining. Of course, for it all to work, time and (mostly) discipline were needed!
**(Click on ANY of the images below for their full-resolution glory.)**
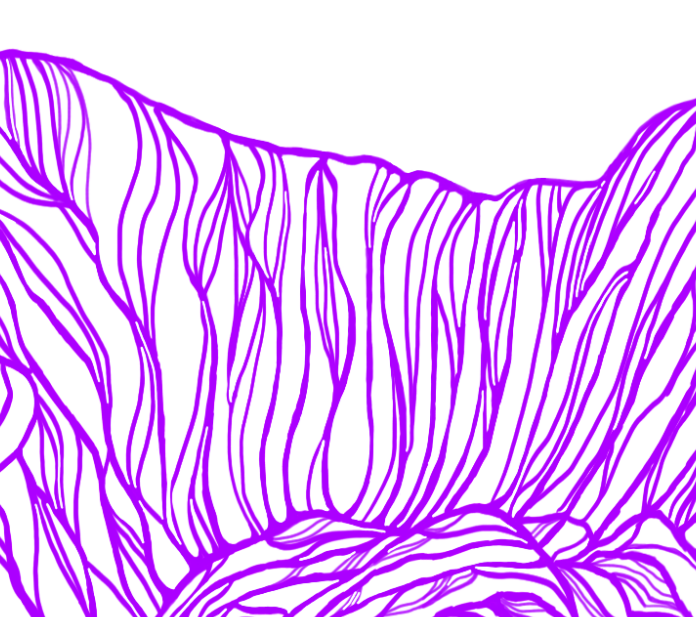
1. Humble Beginnings
(To read about the start of Flowerina, click here.)
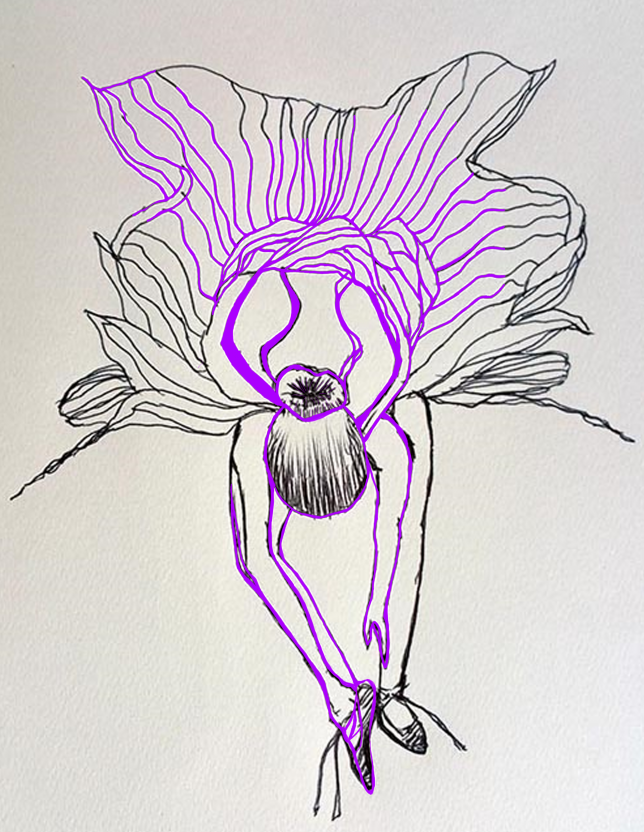
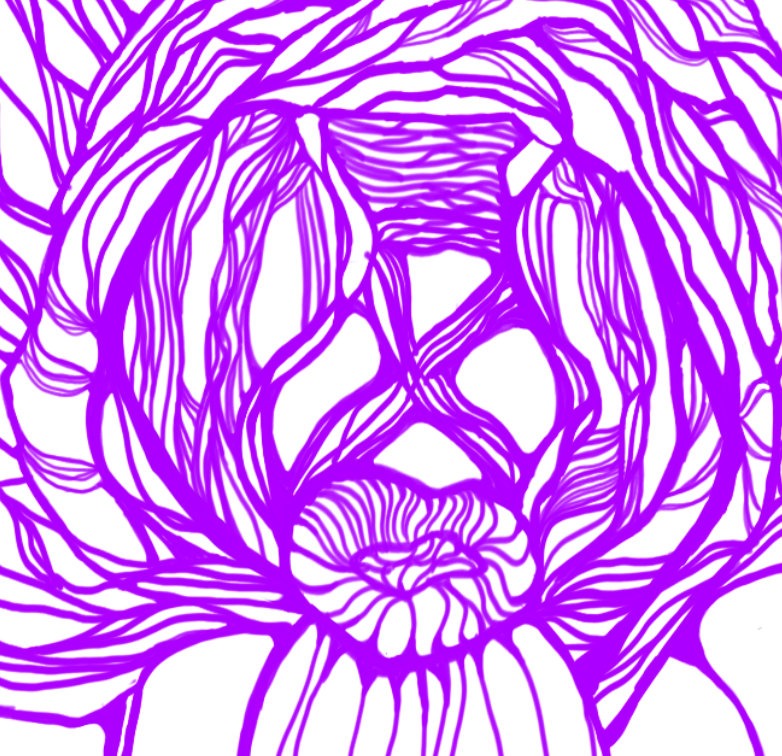
2. Rough New Beginnings
(To read about the digital inking process, and see pictures, click here.)
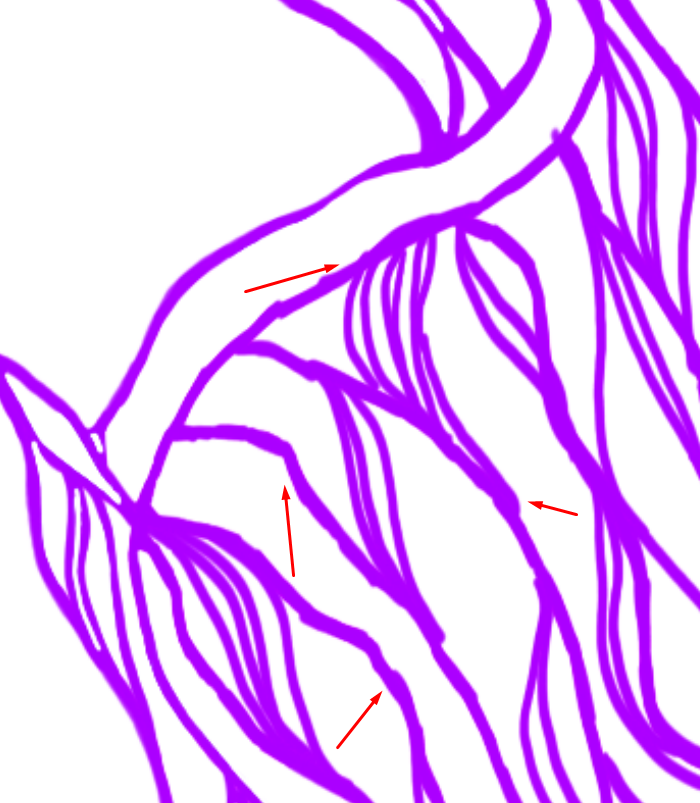
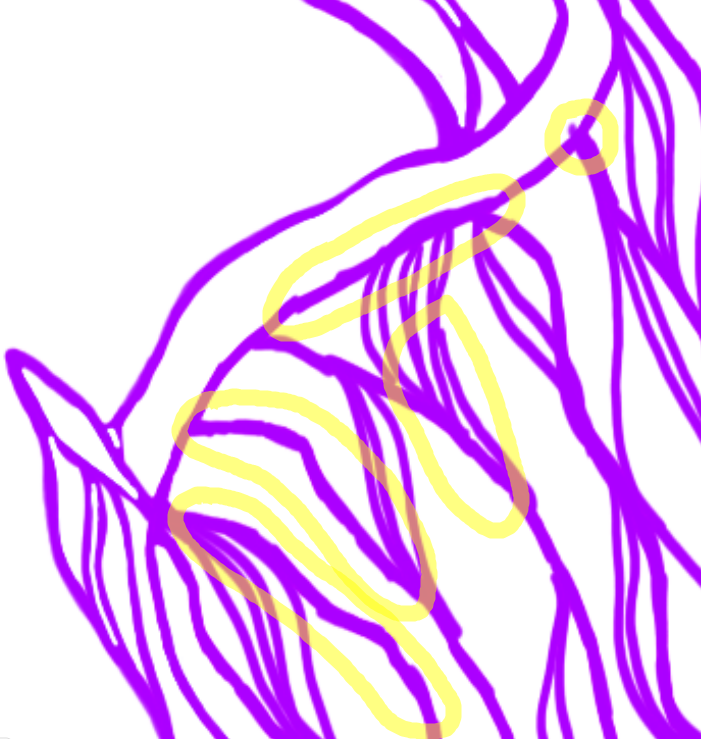
3. Smoothing Out
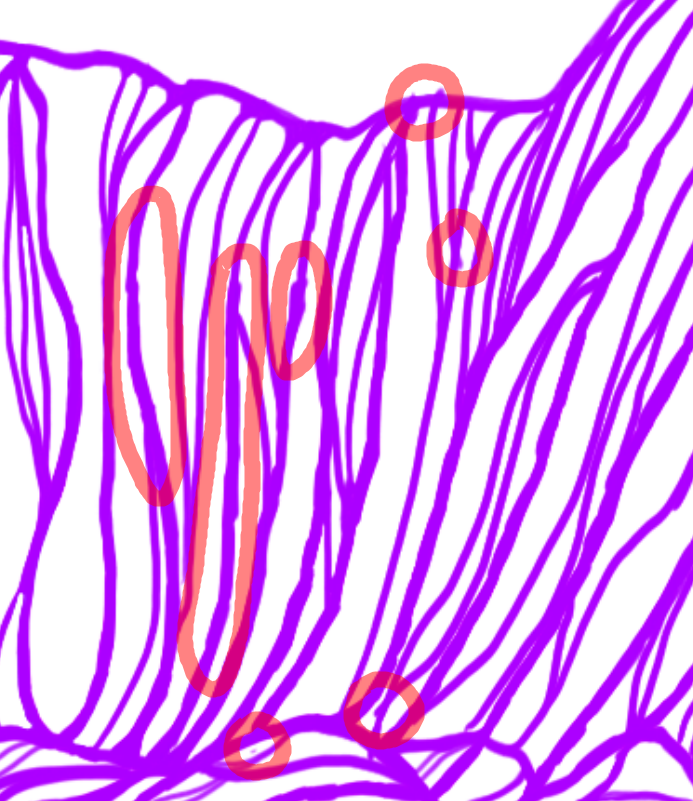
4. Refining (aka A Lot of Zooming in and out)

5. The End Product
After a good four hours of smoothing lines, erasing, cleaning, adding lines, etc., I arrive at the final product.
6. Alternate Possibilities
Because Flowerina is now digital art, I can easily make modifications. For example, I wanted to see what she would look like in black and white. I selected her, and made some color changes, and I got to see instant results from that moment of whimsy-thought; nothing is permanent with digital work.

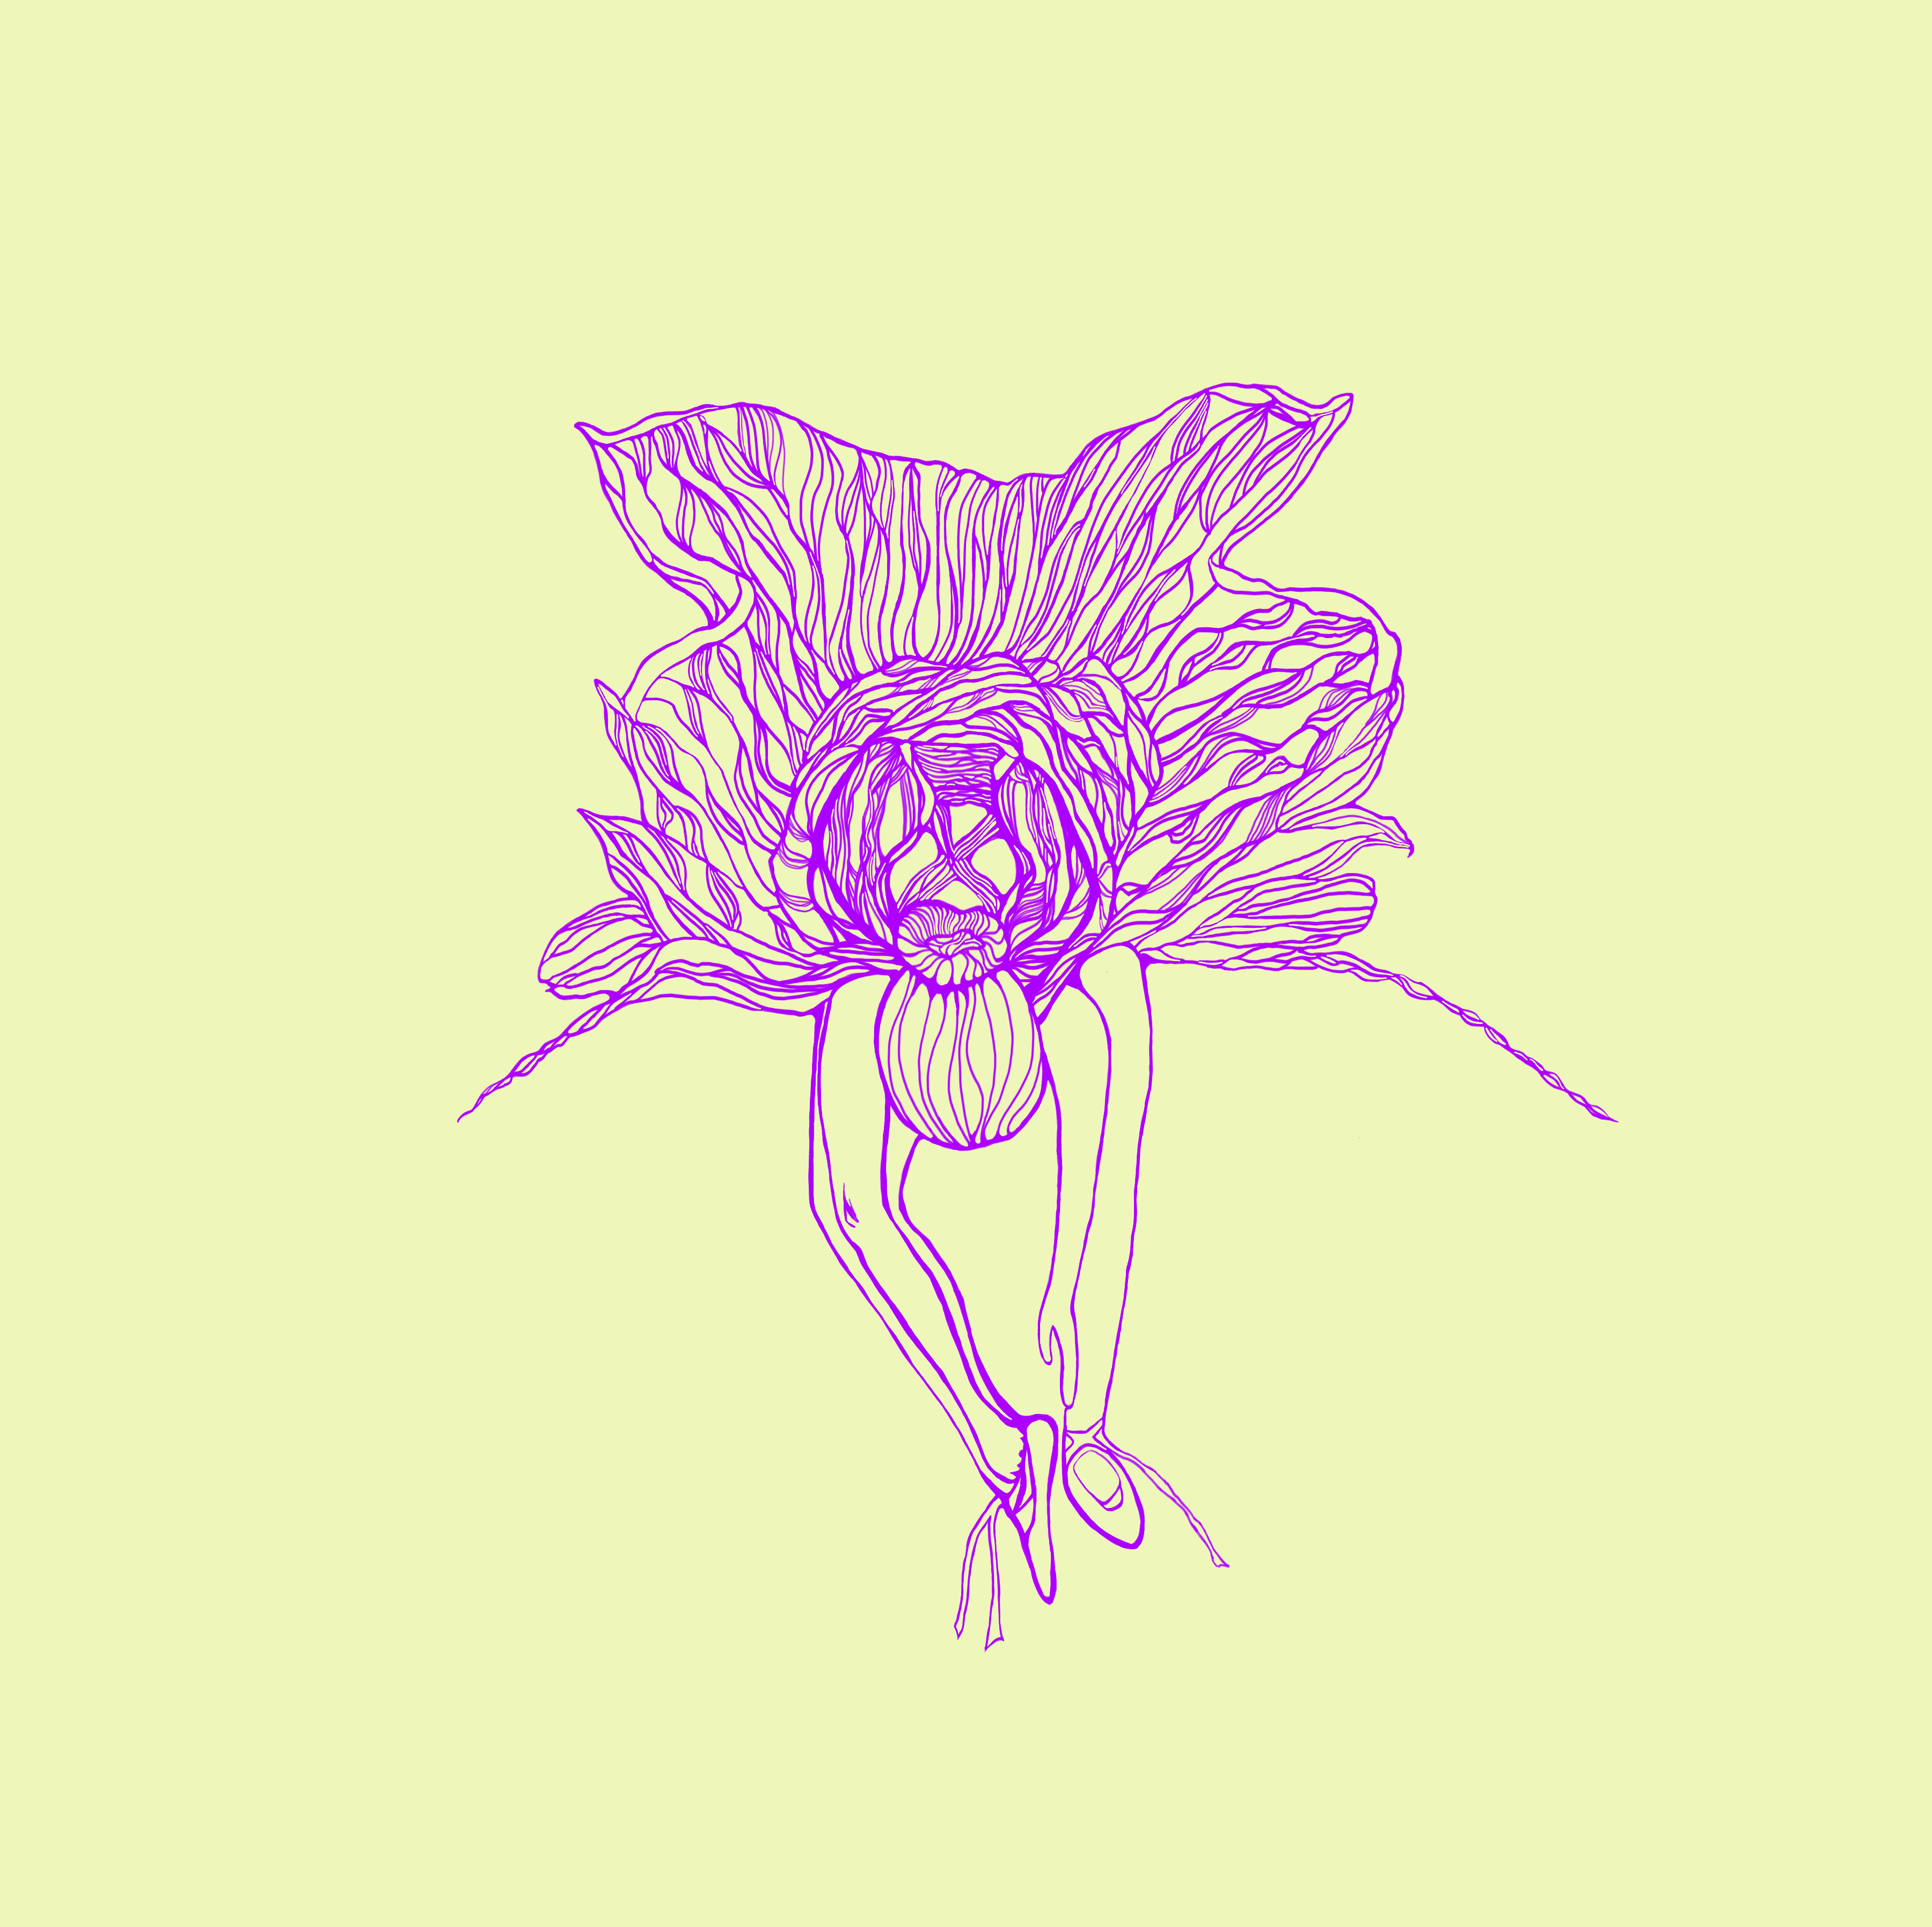
7. Playful Variations
Because I have a nice, clean digital image to work with, I get to have fun and play with colors!


This was a fun work for me. I enjoyed the cleaning and editing, even though it took hours, and months in the grand scope of time, with many transformations. I learned a lot, using digital tools, but also about the process of working a piece of art from conception to finish. I look forward to getting faster and better at it as I work on more, and getting more reliable and artistically fantastic results with the powerful tools software provides. I want tools to cut out repetitive time-wasting and enable innovative creativity.